Azure supports SMB and NFS File shares which can be setup with just a few clicks. In this article lets take a look at how to quickly setup and mount an SMB File share
In case you do not have a storage account start by creating one. If you already have a Storage account skip the Storage account creation.
Creating a Storage Account
On the Azure portal search for storage accounts.

Click on Create

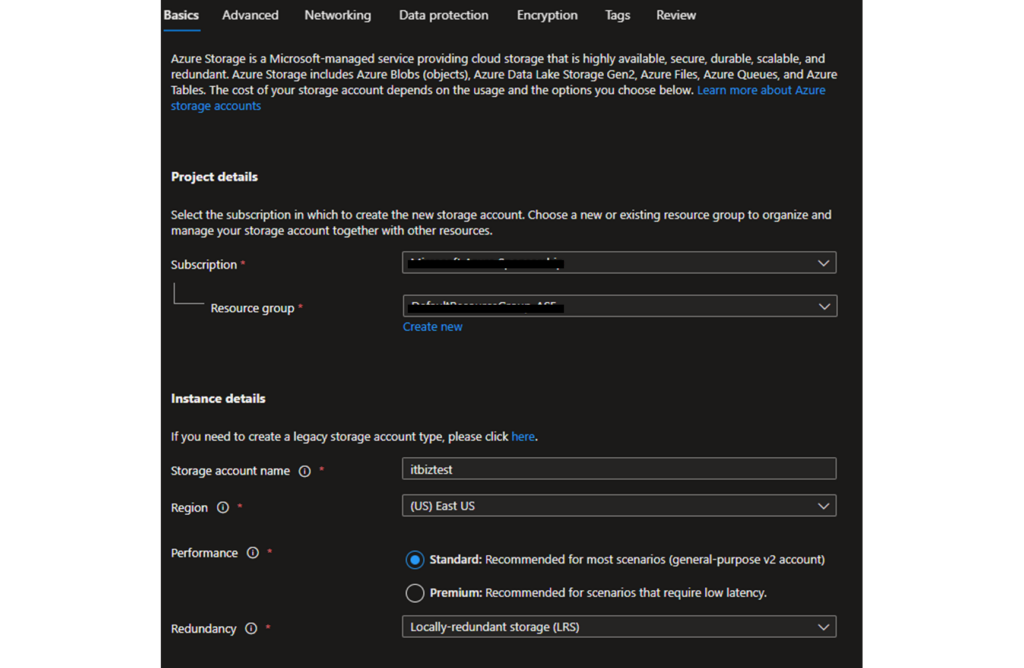
Select your subscription, Recourse Group and Fill in your instance details. Pick the region you want this storage account to be deployed in.
I’ve selected “Standard” Performance as it is the lowest cost option and is good enough for most scenarios. Select the Redundancy according to your preference. In this case I have selected Locally Redundant which is the lowest cost option.

Next Move into the the “Advance” Tab.
Make sure the Access tier is “Hot” for frequently accessed drives. Select “Cool” for Infrequently Access Data. Tick the “Enable Large File Shares” this will provide share support up to 100 TiB.

Click “Review” and Then “Create”. Wait for deployment to complete. Click on “Go To resource” on the same page or find your new Storage account in the Storage accounts section.
You should now see the Storage account created.
Creating The File Share
Click on “Files Shares”

Click +”File Share”

Now you can provide a name for the share and select the Tier.
I am going with “Hot” as this is a general purpose share

Mounting Azure File share
To connect to you Azure Files hare to a Windows computer follow steps below,
Select the File share, in this case “newshare”


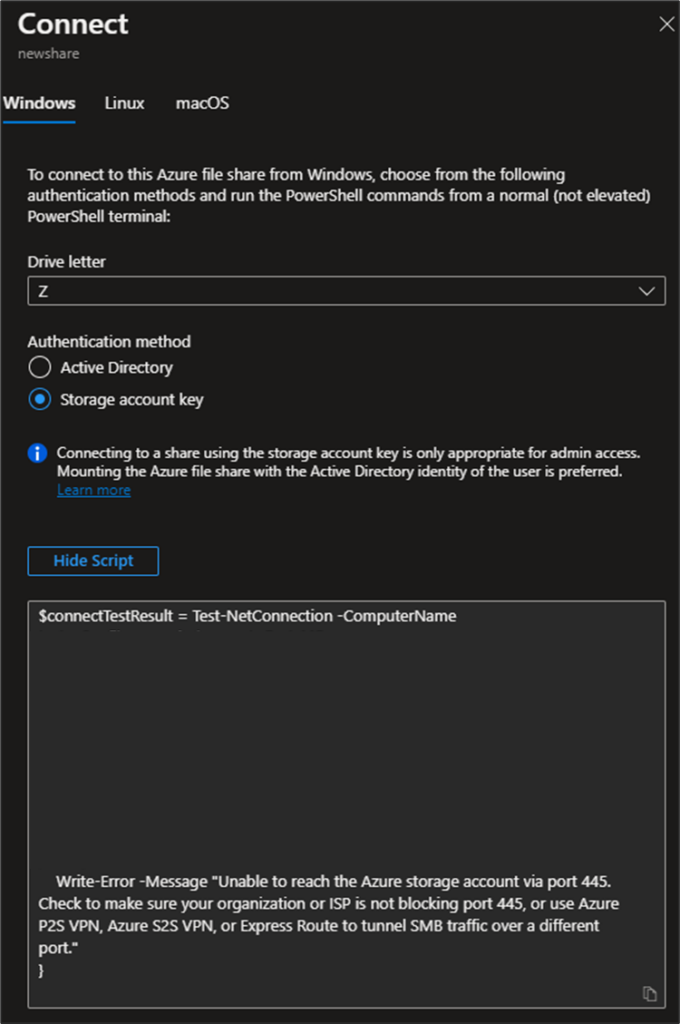
On the left you will now have the options select the Drive letter and also the script to use when mounting the File share. to view click “Show Script”
You can now copy the Script and paste it on any Windows device that supports SMBv3 or higher.
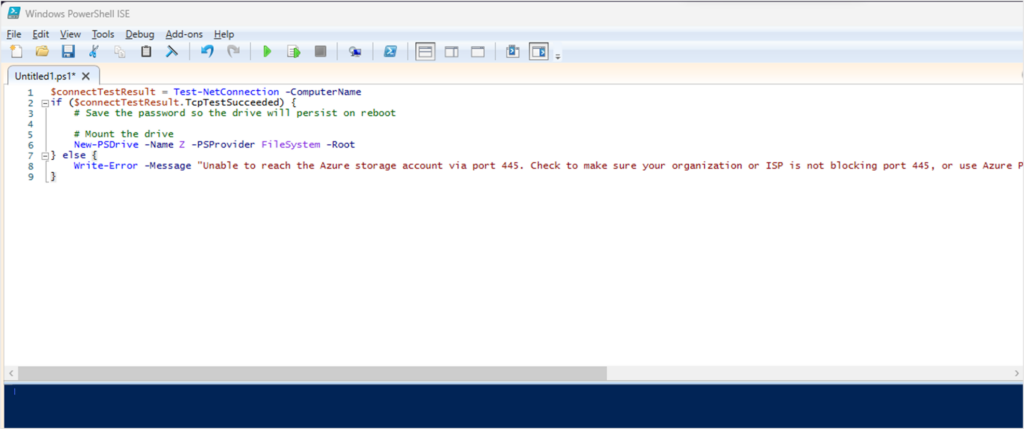
On the Server or Client Windows operating system run “PowerShell ISE” as an Administrator. Copy in the script from previous step and Run Script by clicking on ![]() or “F5”
or “F5”

Once the command is run Successfully, you will be able to see the drive mounted into your network locations with the specified Drive letter

